NDT Inspection Services
NDT methods we offer
Ultrasonic Flaw Detection
Ultrasonic Testing (UT) & Ultrasonic Thickness Measurement
Evaluates internal flaws and material thickness
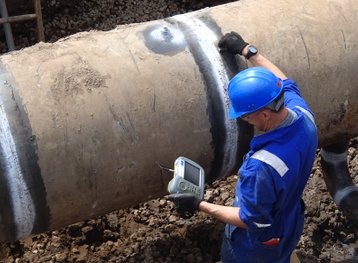
Ultrasonic Testing uses sound waves of short wavelength and high frequency to detect flaws or measure material thickness. Such mechanical waves can travel large distances in fine grain metal, in the form of a divergent wave with progressive attenuation.
Ultrasonic Testing involves pulsed beams of ultrasound. In the simplest instruments a single probe, hand-held, is placed on the specimen surface. An oscilloscope display with a time-base shows the time that it takes for an ultrasonic pulse to travel to a reflector (a flaw, the back surface, or other free surfaces) in terms of the distance across the oscilloscope screen.
The height of the reflected pulse during Ultrasonic Testing is related to the flaw size as seen from the transmitted probe. The relationship of flaw size, flaw distance and flaw reflectivity are complex and considerable skill is required to interpret the display.
Our technicians can carry out examinations on a multitude of welded joints including nozzle and node configurations using portable ultrasonic testing with the latest Sonatest digital sets.
We also offer the service of wall thickness checking, where a detailed report will be produced to your requirements.
Magnetic Particle Inspection
Magnetic Particle Testing (MT)
Detects surface and near-surface indications in ferrous material
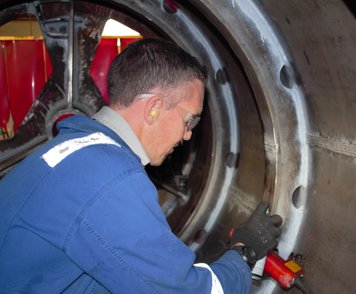
Magnetic Particle Testing (MT) Detects surface and near-surface flaws in ferrous material. Magnetic particle testing is a cost-effective method with immediate
results. This testing method can be used while an asset is in service to determine its conformity to required standards. Operators can effectively identify required repairs and prevent costly failures and shutdown time. MT requires the application of a magnetic field using a permanent magnet or electromagnet in the area of the inspection. Following magnetization, the inspection area is covered with a ferrous oxide particle detection medium, that is either dry or suspended in a liquid. Flaws distort the magnetic field,causing local magnetic flux leakage that attracts the detection medium and indicating the presence of a flaw.
As well as conventional MPI testing where flaws are detected using a black ink on a contrasting background NDT Inspection Services Ltd offer the service of Fluorescent MPI testing.
This method is deemed to be a more sensitive means to finding flaws which are smaller in size and which may not be found using the conventional method.
Fluorescent MPI inspection requires the surrounding area to be darkened and requires UV-A illumination to aid in the detection of flaws which are fluorescent indications once the black light is applied.
Liquid Penetrant Testing
Liquid Penetrant Testing (PT)
Detects surface indications in ferrous and non-ferrous material
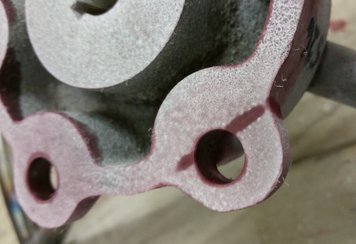
Also known as Dye Penetrant Inspection (DPI), Liquid Penetrant Inspection (LPI) or Fluorescent Penetrant Inspection (FPI); it is a method that is used to reveal surface breaking flaws by bleed-out of a coloured or fluorescent dye from the flaw.
Penetrant Testing is a cost-effective method used to detect surface breaking flaws including cracks, cold laps, and porosity. PT inspection can identify critical defects in many clean and non-porous ferrous and non-ferrous materials prior to loss of containment and prevent costly repairs. Dye penetrant is applied to the material or structure being tested and is drawn into surface breaking flaws by capillary action. Excess penetrant on the surface is removed and a developer is applied. The developer draws the penetrant from the flaw and produces a surface indication. The technique can be applied to many ferrous and non-ferrous materials that are clean and non-porous.
PT Techniques we offer-
Solvent Removable
Solvent Removable penetrants are those penetrants that require a solvent other than water to remove the excess penetrant.
Water-washable
Water-washable penetrants have an emulsifier included in the penetrant that allows the penetrant to be removed using a water spray.
Radiography Interpretation
Industrial Radiography Interpretation (RT)
Interpret Radiographs
Interpretation of radiographs takes place in three steps:
Detection
Interpretation
Evaluation
Once the radiographs have been produced we are able to offer the ability to interpret the graphs, or offer the service of a second opinion.
With lots of experience we would evaluate the radiographs to your customer’s acceptance criteria and report the findings.


